Building Superfluid Checkout Widget: JSON vs. UI
In order to build your widget and integrate it inside your app, you need to have a JSON file containing the parameters you wish to have. You can generate that JSON file through direct configuration or by using a provided user interface (UI). Both methods have their advantages, and your choice will depend on your preference or project requirements.
Table of Contents
Using a JSON Configuration
Building the Superfluid Checkout Widget using a direct JSON configuration provides a flexible and programmable approach. By specifying parameters in a JSON file, you can define the product details, payment details, and the widget's visual style.
Product Details
The productDetails object houses specifics about your product:
{
  "name": "",
  "description": "",
  "imageURI": "",
  "successText": "",
  "successURL": ""
}- name: The name of the product.
- description: A brief description of the product.
- imageURI: The URL where the product's image can be fetched from.
- successText: Text displayed upon a successful transaction.
- successURL: URL where users are redirected post successful transaction.
Payment Details
The paymentDetails object captures all payment-related data:
{
  "paymentOptions": [
    {
      "receiverAddress": "0xf26ce9749f29e61c25d0333bce2301cb2dfd3a22",
      "chainId": 5,
      "superToken": {
        "address": "0x8ae68021f6170e5a766be613cea0d75236ecca9a"
      },
      "flowRate": {
        "amountEther": "1",
        "period": "month"
      }
    },
    {
      "receiverAddress": "0x72343b915f335B2af76CA703cF7a550C8701d5CD",
      "chainId": 56,
      "superToken": {
        "address": "0x529A4116F160c833c61311569D6B33dFF41fD657"
      }
    }
  ],
  "defaultWrapAmount": {
    "multiplier": 3,
    "period": "month"
  },
  "modifyFlowRateBehaviour": "ADD"
}- paymentOptions: An array of available payment options.
- receiverAddress: Ethereum address of the payment receiver.
- chainId: Chain ID indicating the specific Ethereum network.
- superToken: An object with details of the super token used for payment.
- address: Ethereum address of the super token.
- flowRate: Specifies the rate at which payments (streams) flow. If the ‘flowRate‘ is not specified, the user will be prompted to enter the flow rate.
- amountEther: The amount in Ether (or the specific token chosen).
- period: The denominator of the flow rate (e.g., "month", "week").
- defaultWrapAmount: Indicates the default amount to wrap for the transaction, if the user does not have super tokens in their wallet.
- multiplier: Multiplier value for the wrap amount.
- period: Period for the multiplier, e.g., "month".
- modifyFlowRateBehaviour: Specifies behavior when modifying flow rate. For example, "ADD" means the flow rate will be added to the existing rate.
Widget Type
The type field denotes the widget's visual style:
{
  "type": "page"
}
Using the User Interface (Widget Builder)
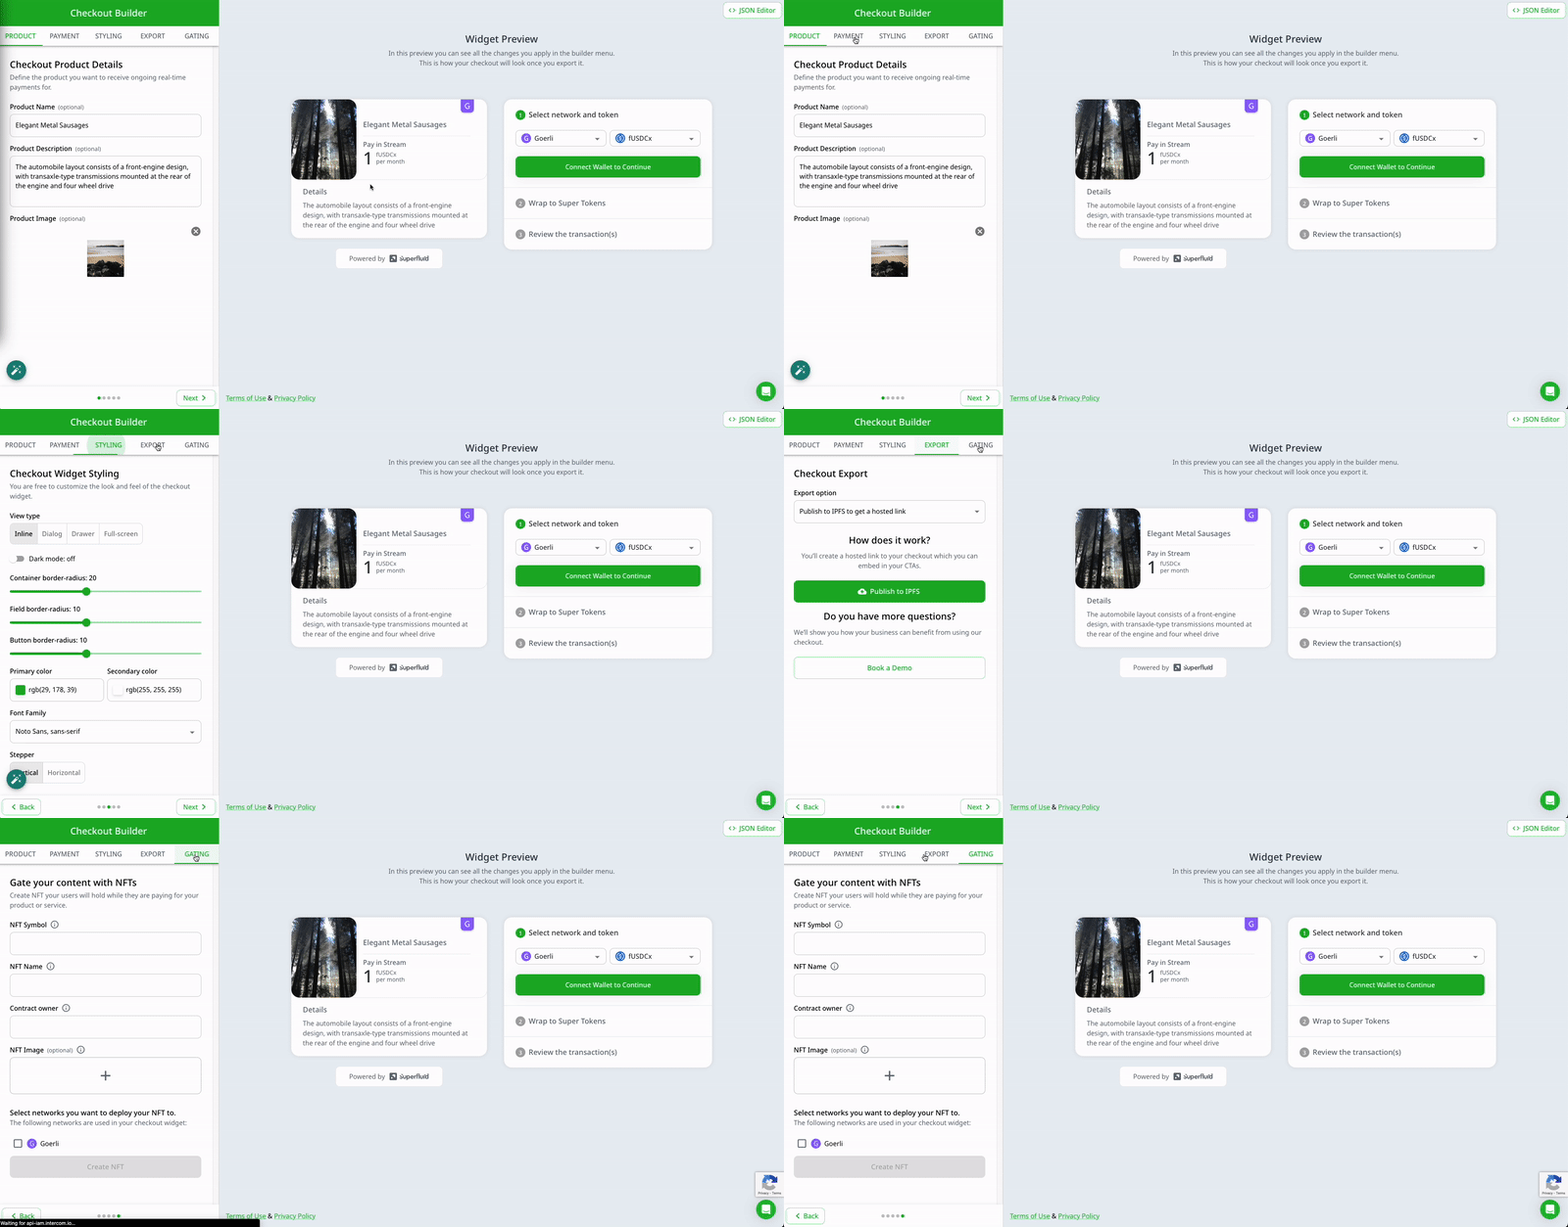
For those who prefer a more visual approach or might not be as comfortable with JSON configurations, the Superfluid Checkout Widget also offers a UI-based setup, through the Widget Builder (opens in a new tab).

- Access the Superfluid Builder UI (opens in a new tab): Navigate to the Superfluid Builder platform and select "Enter Builder".
- Define Product Details: Use the form fields provided to enter the name, description, and image for your product.
- Specify Payment Options: Add one or more payment options by providing the receiver's Ethereum address, network, super token details, and the desired flow rate. If you have predefined super tokens, you can select them from a dropdown list.
- Set Default Wrap Amount & Behavior: Define the default wrap amount for transactions and specify the behavior for modifying the flow rate using the provided UI elements.
- Choose Widget Style: Use the visual selectors to pick the widget's style. For instance, selecting "Page" will make the widget appear as a standalone page within your app.
- Preview & Generate Code: Once you have configured all the settings, you can preview the widget in real-time. If satisfied, click on "Publish to IPFS" to deploy your widget or copy the JSON file from the JSON Editor on the top right of the builder.
NEW! Power your subscription widget with an NFT token deployed to each subscriber. Head to the NFT Gating Section to learn more.
With these two methods, you have the flexibility to choose the most suitable approach for integrating the Superfluid Checkout Widget into your application. Whether you prefer the hands-on JSON approach or the visual UI method, both ensure a seamless and efficient user experience.